Kit templates in Reftab let you pre-define the components of a kit, ensuring all necessary items are included before handing it out. For example, before a photography shoot, a kit might need lenses, cameras, tripods, and lights. With a template checklist, you can easily define these items.
At the time you need to check out the kit, you can easily use the Reftab mobile app or desktop site to scan barcodes and assemble the kit. As you scan each item, the system automatically fills out your check list, showing what’s included and what’s still needed.
This guide will show you how to create a kit template in Reftab and how to use them.
How to checkout a kit template
How to Create a Kit Template
When on the kits, page click “Create New Kit“

Then, click “Create Template“

Then, towards the bottom you will three options:
- Add Category Component
- Add Specific Asset
- Add Accessory Component

Category Components
For example, clicking “Add Category Component” will allow you to select a quantity of items within a category. For example “1 Digital Camera”

Note that on the on the category components, you can click the, “Add Filter” button and define a type of asset specifically by a field value. For example a “Digital Camera with a brand of Canon”.

Specific Assets
Clicking “Add Specific Asset” will allow you to choose the unique asset you want for this kit. This is helpful if you want to specify a specific, individual asset that this kit requires. (AV rental shops in particular use this option in order to be able to scan specific items out and back in when the kit is used.)

Accessory Components
Finally, clicking “Add Accessory Component” allows you to specific the quantity of a certain accessory type for this kit.

Next, you can set a kit name and even give this kit a barcode and click “Save Kit Template” when done.

You are also given a “Potential Kits Count” which tells you how many kits can be made based upon the requirements in the template and the available items in your account.

Now, the kit template is ready to be assembled.
How to Check Out a Kit Template
Next, you can now start checking out your kit templates to users.
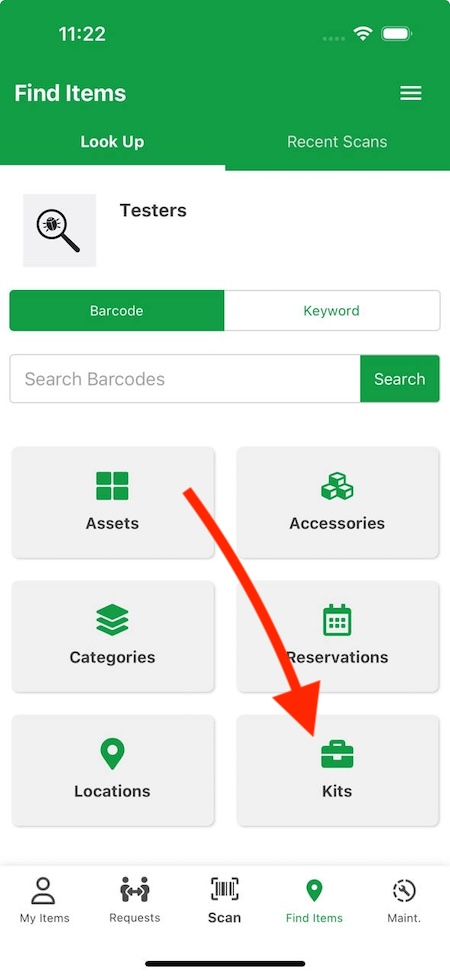
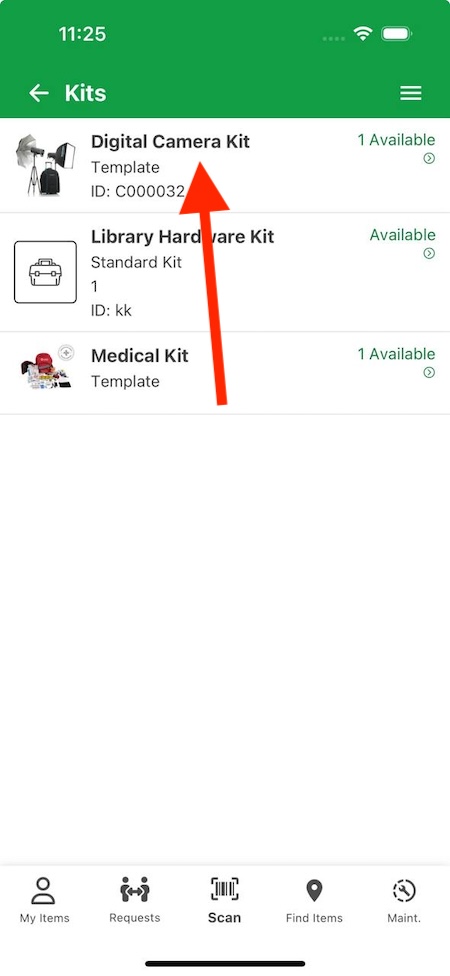
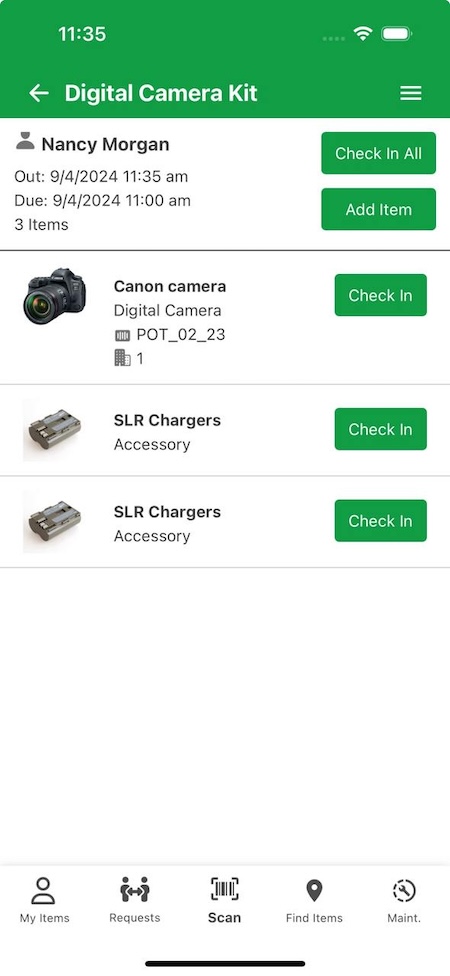
Checking out Kit Template From Mobile App
Download the Reftab mobile app for iOS or Android. Once you login, you’ll tap “Kits” and then tap your kit template. Note that if you created a barcode/QR for your kit template, you can scan that code and it will quickly pull up your kit template, ready for your to check it out.
Next, you can select the user you’re assembling the kit for. Once selected, you can choose a return date and start scanning the items into the kit.

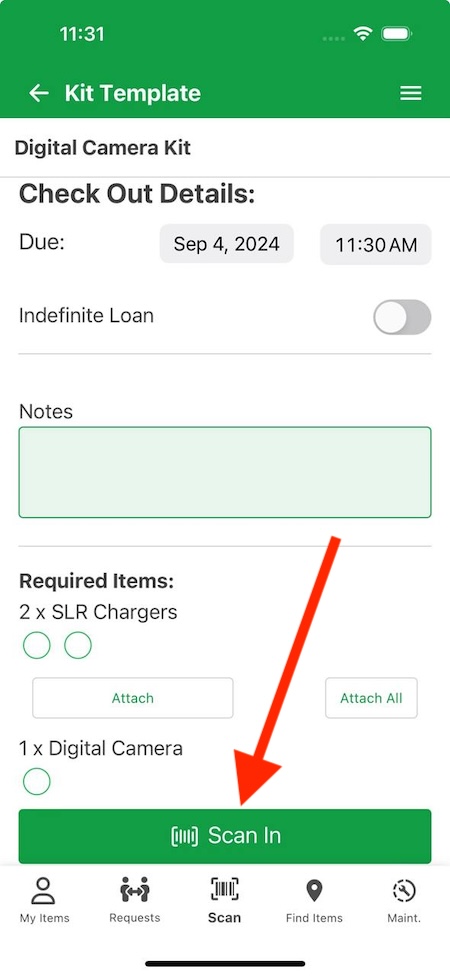
Once all items are added in, tap the button “Check Out“
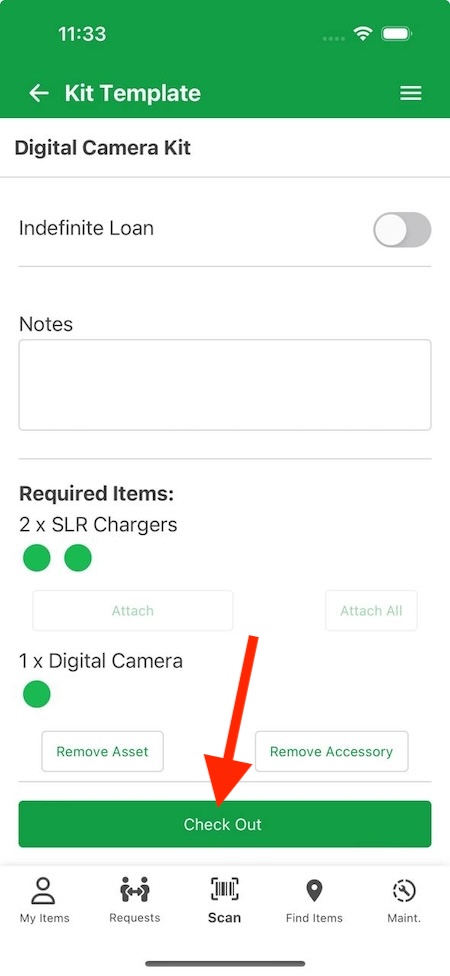
And thats it! The template has been assembed and assigned to the user.
The mobile app even has a way to view the group of items assigned.
Simple tap back on the kit template and tap “View Loans” and you’ll see all the users who have an instance of the kit template.
You can add more items in, or return items.
Checking out kit template from desktop site
When viewing a kit template, you can click “Check Out“

Select the user to assign to this kit and start scanning the items in. This page supports the user of a handheld USB / Bluetooth scanner so you can quickly scan asset tags of items to build the kit.

Once all items are assembled, an alert appears showing the kit has been created and assigned to the user.

To view all instances of this kit, you can click on the kit again and see the table below:

Clicking on any of the rows will show you the items within the kit. This allows you to return the kit, return specific items within the kit or add more items.

Reserving Kit Templates
The ability to reserve a kit template is a new feature introduced in late 2024. Currently, only admins can reserve kit templates. When a template is reserved, Reftab automatically queries your assets and selects the least used ones—those checked out the least often—for the reservation. This process is fully automated, but when it’s time to check out the kit, you can easily swap the reserved assets for different ones if needed.
Click “Reserve” when viewing a kit template and a screen will pop up allowing you to choose reservation dates:

Choose the loanee you’re reserving the kit for and select dates and click, “Reserve Kit“

At this point, the system will fetch matching items available during the selected dates and submit a reservation. You’ll be able to see the reservation on the Reservations page and on the table of the kit template itself.

When viewing the reservation, you’ll see the items that Reftab automatically selected. Remember, Reftab chooses the least frequently checked-out assets that match the specifications you defined when creating the template.

In the image above, you can see that Reftab found a matching item and added it to the reservation. When you’re ready to check out the items you can click “Check-out X Items” Or if you want to swap any of them, click ‘Actions,’ cancel the item(s), and add new ones in their place.
Conclusion
Reftab’s kit templates are a game-changer for the audio-visual industry, offering a streamlined way to ensure every project is equipped with the right gear. By pre-defining the type of assets and accessories needed—such as cameras, microphones, lighting, and cables—kit templates eliminate the guesswork and ensure nothing is overlooked.
Whether you’re preparing for a film shoot or a live event, simply scan asset tags or manually enter IDs to quickly assemble the perfect kit. The checklist automatically updates as items are added, making it easy to see what’s included and what’s still needed, ensuring your team is always ready with the right tools.